Navigation: Program Settings >
Images


|
Navigation: Program Settings > Images |
|
Amigo Pos 7 stores bitmap images in the database. The image management utility can be accessed by clicking Start - All Programs - Amigo Pos - Image Management or in Back Office > Configuration > Images. The images can be assigned to menu category buttons, menu item buttons, seating chart images and other areas of the user interface such as custom logos. Images are assigned to categories and can be selected from the drop-down list in the Button Image column next on the menu item's configuration grid.
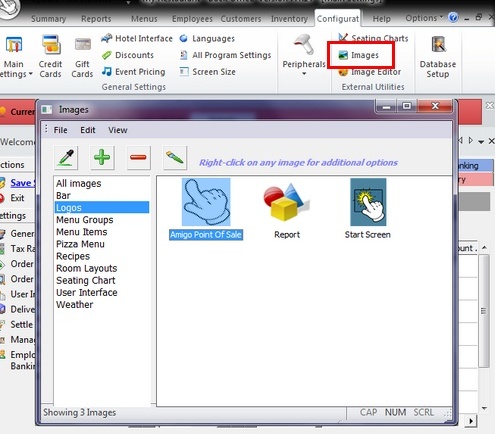
Image Management
Images should be in Windows bitmap format (BMP) and the image size should be kept small to reduce the time required for database synchronization. Delete unused images by right-clicking on one or more images and clicking Delete Image. Images may be exported before deleting for later use. Using other image types such as JPEG or GIF may cause screen flickering. If an image is currently in a different format, open the image in MS Windows Paint and save it as a BMP image before importing into the database.
Important: Each image should have a solid background color. Select this color as the Mask (Transparency) color so that the image background does not appear on the button. This is especially relevant for seating chart images, where tables in use appear with a red background. Click here for a brief tutorial on specifying image transparency colors.
Right-click on any image to rename the image, change the image category or permanently delete the image. Right-click on an image category to rename, delete or add a new image category. Assign user friendly names to simplify image selection during menu setup.
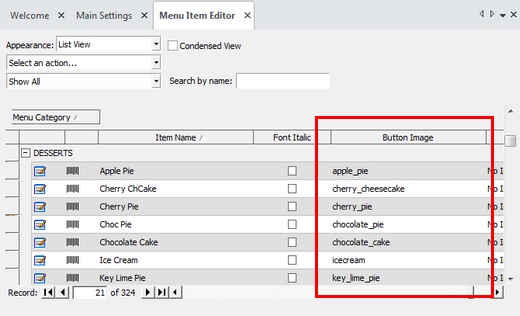
Selecting an Image for a Menu Item
Each menu category is assigned a unique image category. All images in the assigned image category appear on the drop-down list in the menu item editor or various menu grids. Select the image from the list, select the mask color (image background color that should appear transparent on the button) and adjust the image position. If text should be suppressed on the button, uncheck the box next to Show caption on button. Otherwise, adjust the text position and alignment so that the caption appears correctly relative to the image.
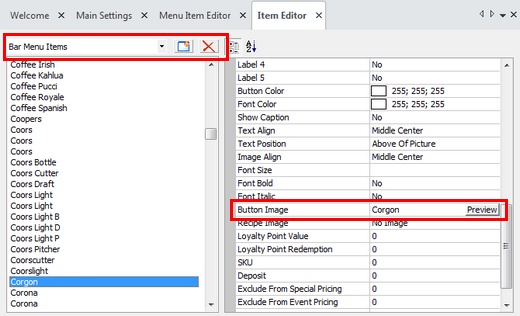
Selecting an Image for a Bar Menu Item
The images that appear on the drop-down list for each menu item, optional, category, seating chart object, etc are filtered by image category. If new image categories are created, specify the new category on the image category editor in Back Office > Configuration > Main Settings >User Interface, as shown below.

Image Categories Configuration
Page url: http://www.amigopos.com/help/html/index.html?images.htm